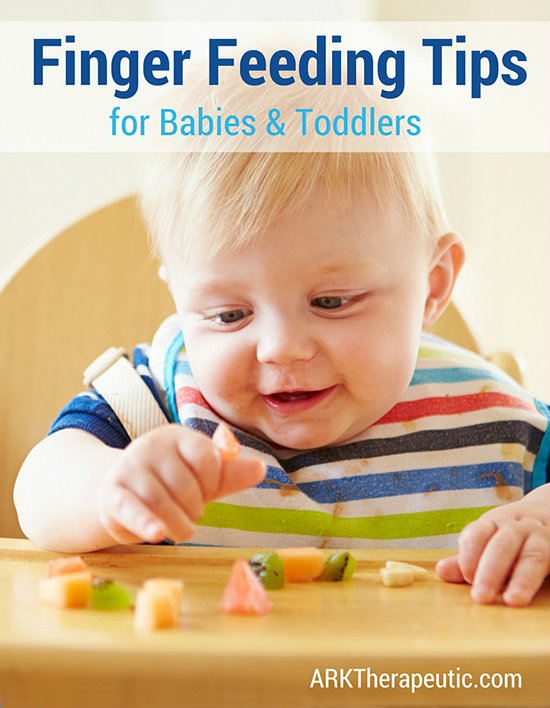
Finger Feeding Tips for Toddlers
Posted by Debra C. Lowsky, MS, CCC-SLP on 29th Oct 2012
Finger feeding is a very important step towards 1. feeding independence and 2. setting the stage for healthy eating habits. Finger feeding typically starts at about 8-10 months, but of course there are always exceptions. A friend of mine didn’t start with her baby until 11 months of age for example.
In order to be ready for finger feeding, your child needs to be able to sit up completely on her own, without support. Another indication of readiness is when she begins to grab the spoon out of your hand as you feed her. Or if she shows an interest in what you are eating and tries to grab food from your plate.
.

.
To start, make sure that she's not in motion, crawling around, etc. She must be seated. Allow her to place her hand over yours to assist in spoon feeding. You can also give her a spoon of her own to use, but still feed her with yours to make sure she's eating a full meal. Take turns between feeding yourself and feeding her, which helps reinforce good social skills at the same time, such as turn-taking, eye contact, etc.
Place finger foods on her high chair tray for her to feed herself. She doesn't have to eat them at first, just place them there. She'll explore them at her own pace. You can eat some of the pieces yourself to demonstrate. Don't put too many pieces on the tray at once, as some children try to eat too much at once. That or it just winds up all over the floor! While the finger foods are in front of her, continue to spoon feed.
As a heads up: it's not uncommon for babies to hold food in their fist as they practice getting it into their mouth. The ability to pick up and hold food between the thumb and forefinger, which is called a pincer grasp, continues to improve until about one year of age.
Of course, always supervise in case of choking. And have napkins ready and plan for some serious messes - I used to take the tray outside to hose it off after my kids were done. Making messes is part of learning about food. Be ready with a camera for the precious moments!
.
EXAMPLE FINGER FOODS TO START WITH:
Toddlers don’t need teeth to chew - without teeth they will gum their food to a consistency that is easy to swallow. So foods that dissolve with chewing are great to start with, such as:
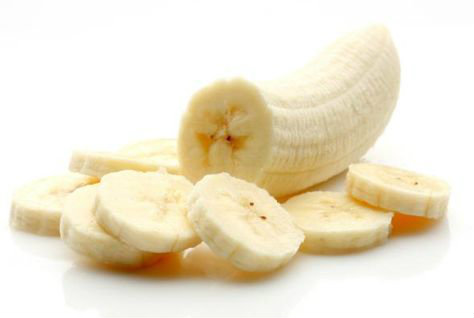
• Soft, ripened fruit (without the skin) – bananas are wonderful
• Well-cooked veggies cut up into small pieces
• Scrambled eggs in small pieces
• Plain cheerios (not honey nut)
• Baby foods for finger feeding (usually on the top two shelves in the baby food section of the food store)
• Small pieces of soft cheese
• Cooked pasta

.
• Raisins
• Popcorn
• Nuts
• Uncooked vegetables
• Grapes (although I have seen parents do this, I didn’t with my own children)
• Meat, chicken/turkey
• Hot dogs
• Honey, which is in graham crackers and some cereals, such as Honey Nut Cheerios
• Foods that cannot break down easily – just try them out yourself first
.
Please note: the lists above are by no means all-inclusive. Each child's list of foods to try or avoid may vary depending on their oral motor skills, developmental age, allergies, etc.
If your baby isn’t interested in finger foods at first, keep trying. Sometimes it can take up to 10 presentations of a new food before a child will accept it. If disinterest or refusal continues, in some cases this may be a sign of a sensory and/or oral motor issue. Or it could be that the child just may not like that particular food - we all have our food preferences. If you are at all concerned, however, it's best to consult your physician and if necessary, a feeding therapist. It never hurts to rule things out. And if there is a need for feeding therapy, it's almost always best to catch it early.
.
Best of luck!
Debbie
Debra C. Lowsky, MS, CCC-SLP
.
